Movidius Neural Compute Stick and Raspberry 3 — quick start guide
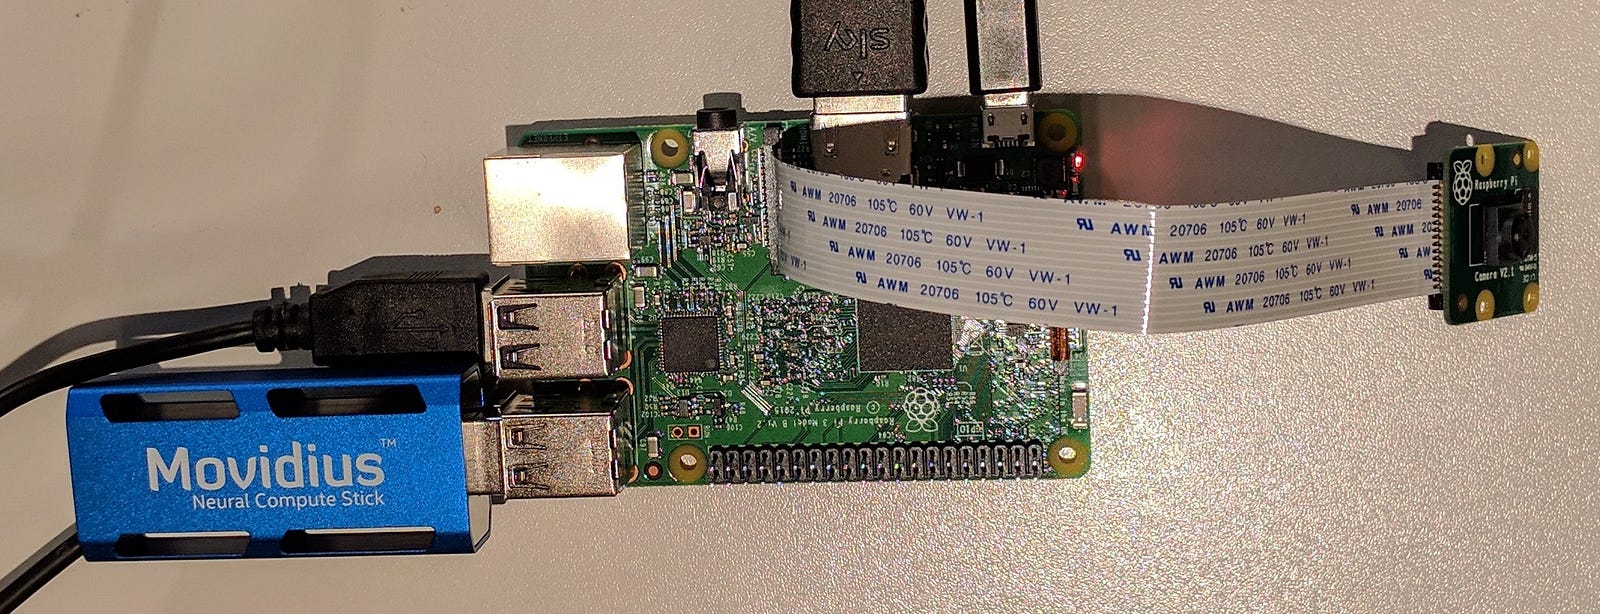
I’ve been wanting to try out the Movidius Neural Compute Stick (NCS) for a while now and decided to combine it with a Raspberry Pi 3 — the idea being of course to move the setup to a mobile-capable chassis (wheeled or winged!) in the near future.
They are selling like hot cakes here in the UK — either that or the manufacturing batches are small. RS Online got their latest batch in last week and they are sold out already -they’ve sold out twice in the last couple of months..
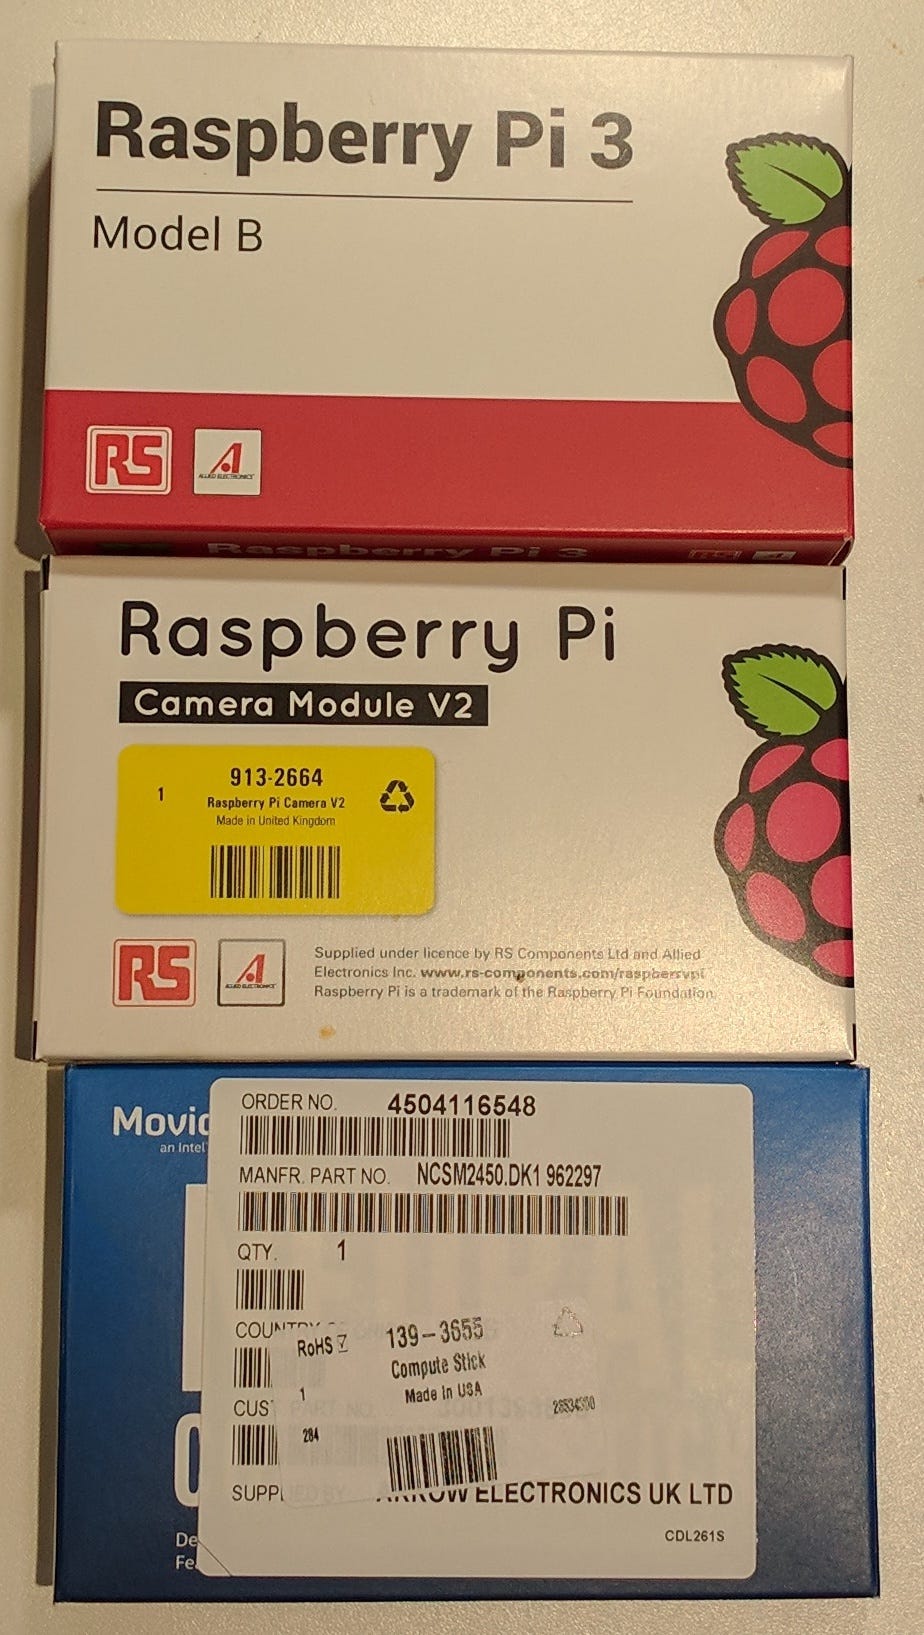
Hardware-wise, £120+VAT gets you a NCS, a Raspberry Pi 3 and v2 camera module for the Pi. The OS and SDK are free of course so that’s a relatively small outlay for a fun Deep Learning project..
I found the Movidius documentation to be either missing or incomplete — a lot of links indexed by Google now 404, the forums are pretty quiet and the Youtube videos and other resources imply that a host PC running full Ubuntu is required. That’s not the case — it is possible to do a full install straight onto your Raspberry Pi 3 as we outline below. So the steps are as follows (all of these steps were executed on the Pi, we did not use a host PC at all):
1. Install Raspbian on to your Pi— we installed Stretch with Desktop straight from the website.
2. Next, clone the ncsdk repo from the Movidius organisation on Github:
git clone https://github.com/movidius/ncsdk.git
Quick note: this won’t be the only repo you need to get up and running quickly (see below).
3. Make sure you run install.sh using bash as it has “bashisms” — so “sudo bash install.sh”. Now we need to wait as the Pi CPU is pretty underpowered for what comes next..
4. scikit-image takes ~30 mins to compile — be patient, have a coffee and a biscuit.
5. Caffe takes ~1 hour to compile (and looks like it will run out of RAM but doesn’t — it uses ~800 MB and a Pi 3 has 1 GB so we’re ok here) — be even more patient, partaking coffee and biscuits as necessary..
6. Once install.sh is finished test your installation by running this file (https://github.com/movidius/ncsdk/blob/master/examples/apps/hello_ncs_py/hello_ncs.py) e.g.
python hello_ncs.py
You should see output like:
Hello NCS! Device opened normally.
Goodbye NCS! Device closed normally.
NCS device working.
We now have a working Neural Compute Stick!
7. Now run
make all
in the examples subdir to download and build some models to test (the pre-trained weights are downloaded from dl.caffe.berkeleyvision.org). This will build three models — GoogLeNet, AlexNet and SqueezeNet. These models are trained on ImageNet so they can recognise objects from the 1,000 categories that comprise the ImageNet corpus. You could in fact build just one of these models — we want to compare relative performance though so we built all of them. This step will need to download the pre-trained weight matrices for each model and also compile the Caffe model into the internal NCS format, so the time taken will depend on the speed of your network connection.
8. Now we need our second Movidius repo — clone the ncappzoo GH repo to get stream_infer.py (this is the same script referred to in this video) — otherwise you’ll need OpenCV which will take **4 hours!!!** to build and you will also need to write Python code to access the video stream — not a problem but we don’t need to do it in this quick start guide. So it’s:
git clone https://github.com/movidius/ncappzoo
9. Make sure you run
sudo modprobe bcm2835-v4l2
to get the v2 camera module loaded as the /dev/video0 device, otherwise the python script will simply hang as it wants to access the camera using this handle.
10. As per the Youtube video I linked to above, you’ll need to
sudo apt install gir1.2-gstreamer-1.0 git1.2-gst-plugins-base-1.0 python3-gst-1.0
No, I have no idea why these packages have such friendly and easy to remember names either. This gives us the windowing system API that stream_infer.py wants to use.
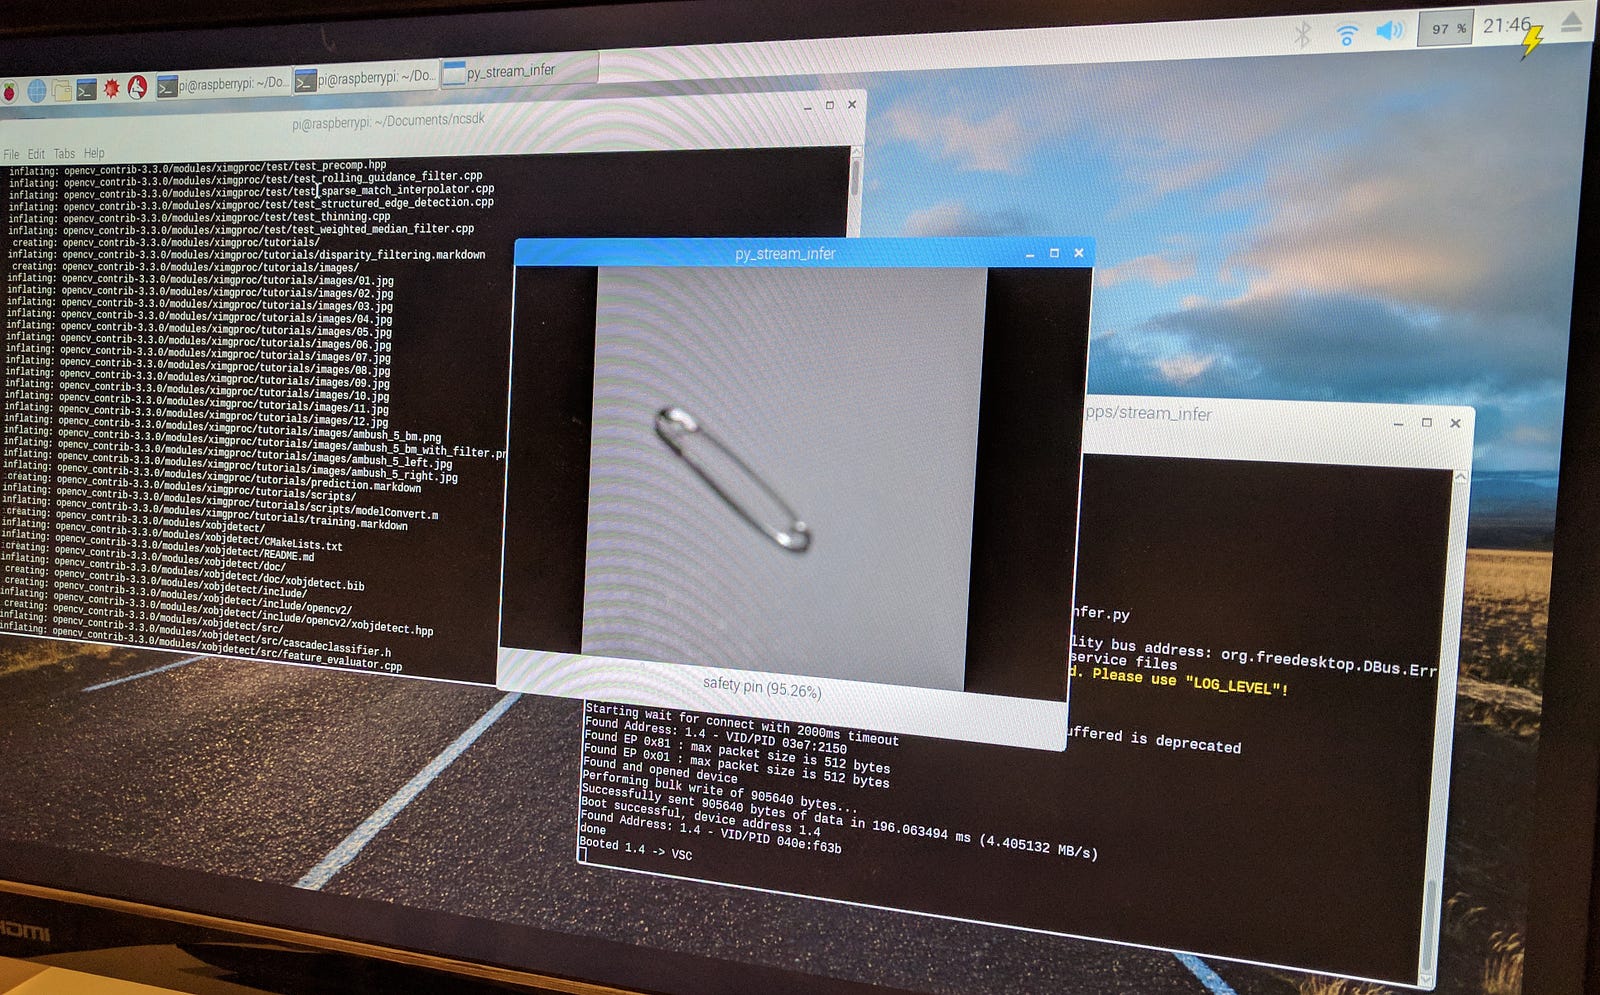
11. Ok, now we can finally see how the NCS runs our target model!! Run stream_infer.py from the ncappzoo/app/stream_infer directory. We loaded in the GoogleNet model — make sure you use the right image dimensions required by your model (we need 224x224x3 for GoogleNet) or the code will error with a re-shaping problem (ValueError: cannot reshape array of size XXXX into shape (224, 224, 3)).
Here’s a running example — safety pin is a category from ImageNet and the NCS running GoogleNet classifies it with ease (95%). Cool..
PS The NCS runs pretty hot!
PPS TODOs — generate a PR back into the repo for two things:
(a) Get the scripts to use make -j4 to run at least a bit more quickly when compiling on the Pi 3
(b) Get the scripts to be a bit more arch-aware for the Pi 3 platform.
留言
張貼留言