Tutorial : Write a Hangouts Chatbot powered by Google Cloud Functions
This is part of a Google Cloud Tutorial Series. Check out the series for all the articles.
Google recently announced general availability of Hangouts Chat for G Suite customers. The announcement mentioned the release of the Hangouts API to write custom Chatbots that can be made available to users in your organization.
This is a step by step tutorial on writing a sample bot with full instructions on setting it up in your Hangouts Chat and seeing it work. The Bot that we are going to write is a simple one but a very apt one for the times that we live in: A Bitcoin Hangouts Chatbot. It will provide you the current price in a currency of your choice : USD, EUR and GBP. If you have invested in Bitcoin, I hope you keep calm with the price fluctuations, if any. Let’s get going.
Prerequisites
- You should have a G Suite account, preferably be an Administrator or have the right privileges to turn on the APIs, do some configuration and more.
- You have a Google Cloud Platform account and have created a Google Cloud Project for this tutorial. Please go ahead and create one if you have not. Let us refer to the Google Cloud Project Id as YOUR_PROJECT_ID.
Bitcoin Hangouts Chatbot in Action
Let us see what we are going to build first. This will help to understand the pieces.
The screen below shows my Hangouts space via chat.google.com.
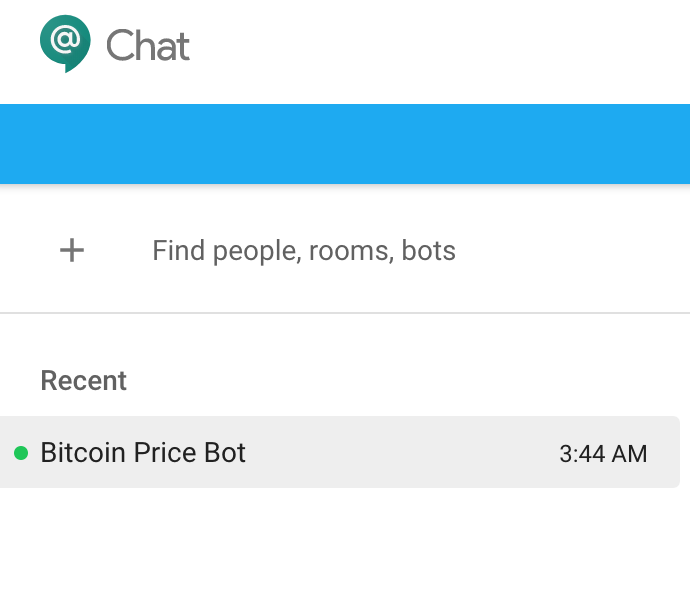
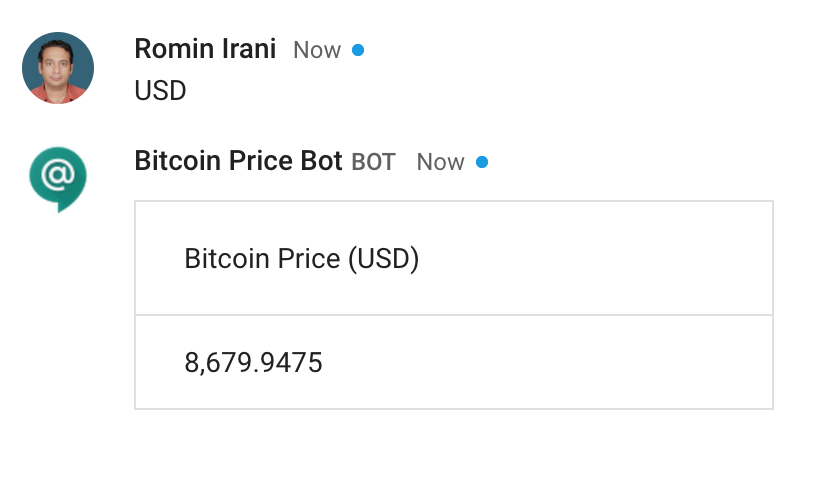
I click on the Bitcoin Price Bot that was added to my space. And it opens up a direct conversation channel with the Bot. I provide the currency for which I would like to know the current price of 1 Bitcoin in. The Bot responds with the price.
How does it work?
At a high level, this is what we did and we shall see the steps for the same in a while but it is sufficient to know what is going on here:
- When you type a message to the Bot, the Hangouts API will determine the endpoint where the Bot is available (in our case a Google Cloud Function (GCF) implementation.
- It will pass the message (currency specified) to the GCF function.
- The GCF function that takes as input the currency (USD, EUR or GBP). It then makes a call to the Coinbase API that provides the current price of 1 Bitcoin. The API is available at https://api.coindesk.com/v1/bpi/currentprice.json.
- We extract out the price in the currency specified and format the response as per the Chatbot API Message Formats or Cards as they call it and return this JSON response from our GCF function.
- The response is then displayed in the Hangouts chat.
Google Cloud Function : Bitcoin Price
Let us first develop our function. Before we begin that, let’s perform the following steps:
- You have have a Google Cloud Platform account with billing enabled. Google Cloud Platform comes with a generous Always Free tier, which you can use for this tutorial.
- Create a new Project via the Google Cloud Platform console. As mentioned earlier, let us call this project YOUR_PROJECT_ID.
- Enable Google Cloud Functions API : From the console hamburger menu, go to APIs and Services → Library. Enter Cloud Functions in the Search bar and you should see the following screen:
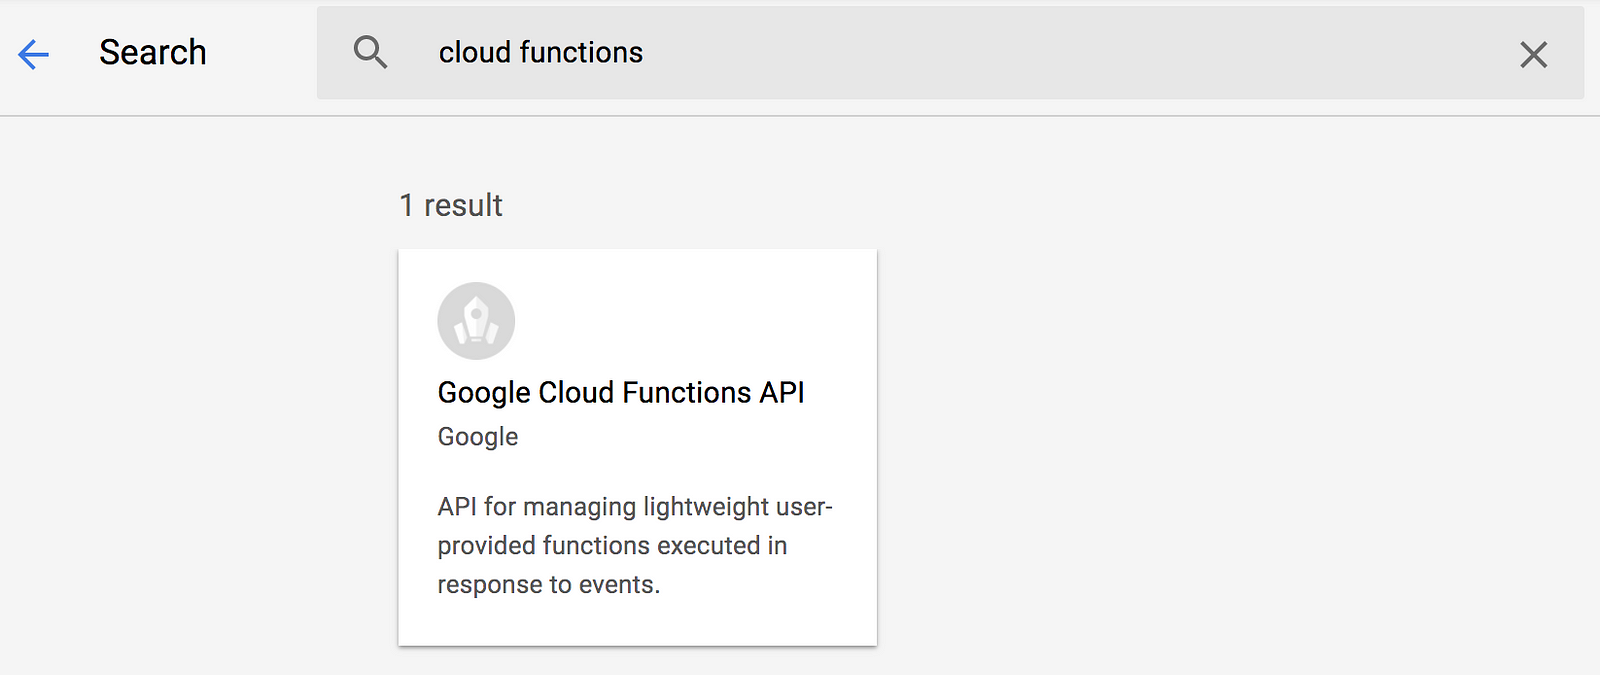
Click on that and then Enable the API.
Assuming that you are logged into to Google Cloud Console and selected your specific Google Cloud Platform project, navigate to Cloud Functions.
Click on CREATE FUNCTION as shown below:

This will bring up a form where you can provide the details for your function as follows:
- Name : Please provide a name for your function. For e.g. bitcoin-price-function.
- Memory Allocated : Go with the default here i.e. 256MB.
- Trigger: Cloud Functions are executed in response to a trigger. GCF supports multiple triggers like HTTP Trigger (direct invocation), subscribing to a Pub/Sub message, Google Cloud Storage (GCS) events, etc. For our scenario, we will configure our Chatbots API to trigger directly i.e. via HTTP, so we will go with HTTP Trigger in this case. We will see the configuration of the Chatbots API in the next section.
- Notice that it creates a unique URL for your function. Please note this down. We will refer to this URL as FUNCTION_URL for the rest of this article.
- Runtime : Select Node.js 6, though you can select Node.js 8 too.
- Source Code : We will provide the source code in the inline editor itself. So go with Inline Editor.
- In the index.js tab, which is where you will write your function, use the following snippet of code:
7. Function to execute : In this field, the value will be bitcoinPrice as you can see from the exports field in the above code.
8. In the package.json section, please use the following:
I am using a 3rd party npm module
axios that makes it easy to make HTTP Requests.
9. Go ahead and click on the Create function. This will create the GCF function and you should see it deployed and ready in the list as shown below:

Dive into the function code
It is important to understand what is going on in the code. I will skip any discussion around Javascript and Promises, since that will take the focus away. Even if you are not a Javascript person, you should be able to follow along.
A few points are given below:
- The function that we are exporting is the bitcoinPrice function. So start from there.
- First up , we do a couple of validations. The first one is to validate if the request method is POST. If not, we reject the call.
- The next validation is to ensure that it is Google , more specifically the Chatbots API itself that is invoking our function and not anyone else. This is important so that we can ensure that our function, which is exposed as a public endpoint is not misused. We do that validation via the verifyWebhook method. This method takes in the request body and extracts out a token that is passed by the Chatbot API. We simply validate this token passed to the one that we are expecting. This token value is currently referred to as
--YOUR_VERIFICATION_CODE--in the code , but you will replace it eventually and once again save/deploy your function by substituting this with the actual value of the token. This will be covered in the later section, when we configure the Chatbot API. - Once we are through with the validation, the next steps are straightforward. We extract out the message that was sent to your Bot. The message is sent by the Chatbots API to the Cloud function in the body and we extract out this message i.e.
req.body.message.text. We then make a call to the methodmakeBitcoinRequest, which invokes the Coinbase API endpoint and on successful extraction of the result, it will format the message for the Chatbot API Cards via thecreateMessagemethod.
It would be good for you to test out your function. But if you want to do that, please ensure that you comment out the line for verifying the webhook, which does a token validation as explained.
Once the function is saved, please make a note of the FUNCTION_URL as mentioned earlier. You will need this when we configure the Chatbots API in our Hangouts space next.
Publishing the Bot to Hangouts Chat
Now that we have written our function that were power the Hangouts Chatbot, all we need to do is publish (a step of configuration tasks) the bot. The steps are given below:
- Ensure that your bot function is saved and your have the URL for the same from the previous section i.e. FUNCTION_URL.
- From the Google Cloud Console for the project that you configured the Google Cloud Function, go to APIs and Services. Click on Library and search for the Chatbot API as shown below :
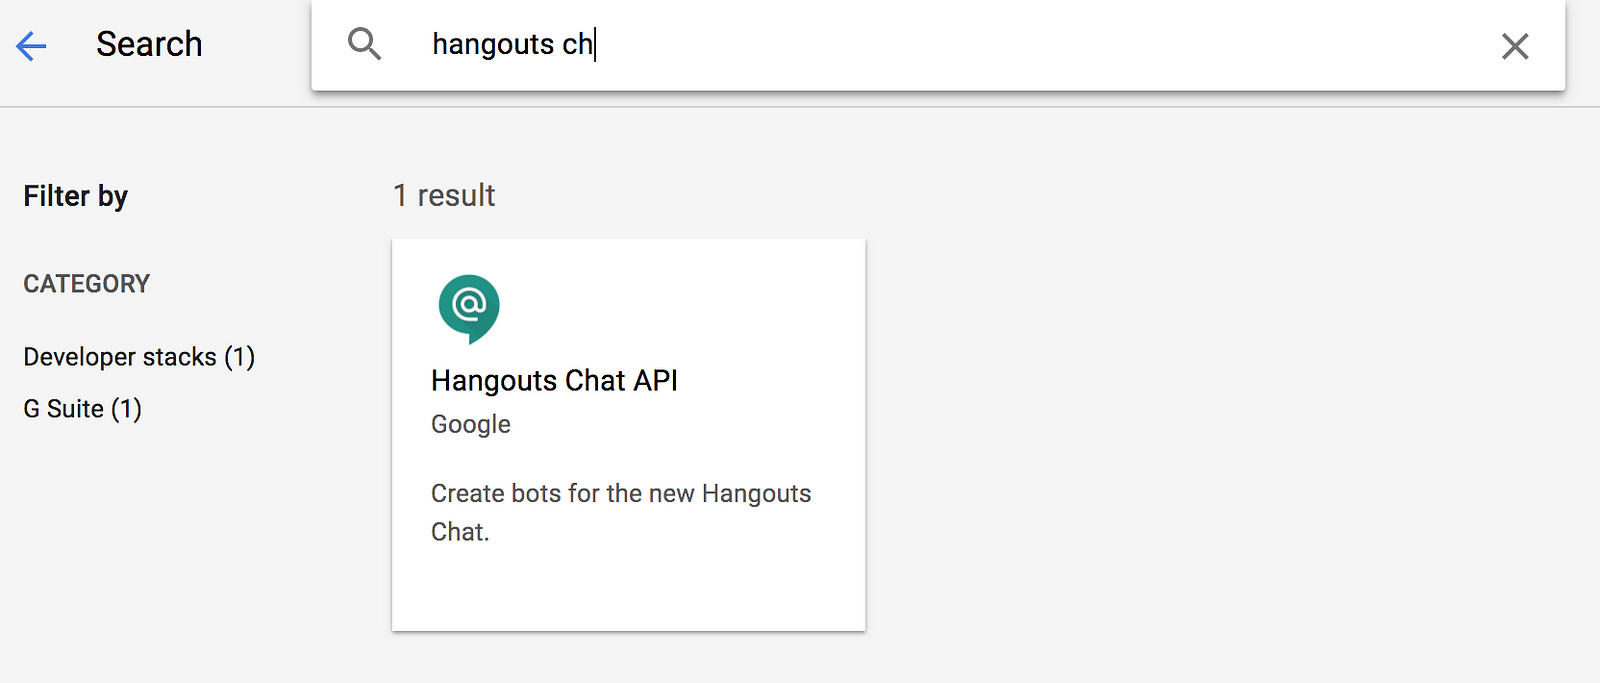
3. Click on the Hangouts Chat API and enable it. Once you have enabled it, click on Manage and go to the Configuration tab for the same as shown below:

4. In the Configuration tab, you will see several fields to fill out.
- In the Bot Name and Description field, enter “Bitcoin Price Bot”
- In the Avatar URL, provide a URL to a 128*128 image. A sample image from the official documentation is available here: https://goo.gl/yKKjbw
- In Functionality, select Bot works in direct messages, since we are interested only in users sending direct messages to the Bot.
- In Connection Settings, select Bot URL and provide the YOUR_FUNCTION_URL value in that field. This is your Cloud Function public URL.
- Verification Token : This is the token value that you will use in the index.js field above. Take the value from here, copy it to the index.js as explained earlier in the post and save/redeploy your Cloud Function.
- Leave the Permissions field as default.
- Click on SAVE CHANGES.
This completes the configuration/publishing of the Hangouts Chatbot.
Use the Hangouts Chatbot
- Visit chat.google.com and login with your account.
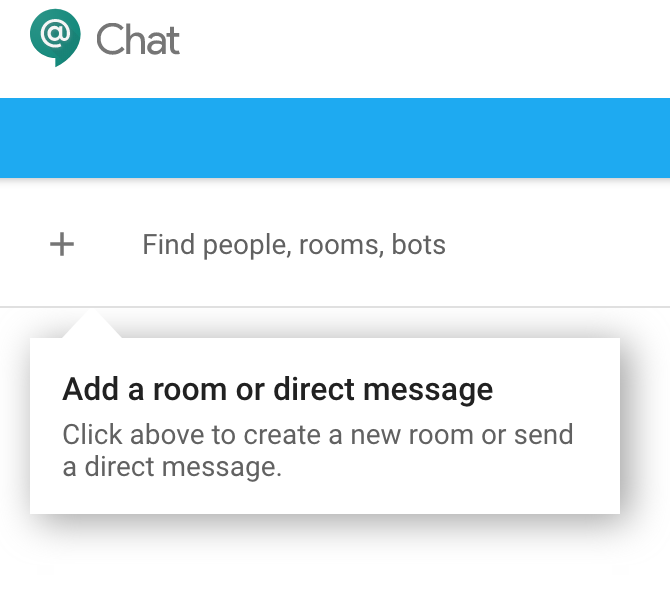
- In the Hangouts Space, click in the area to add a new Bot:
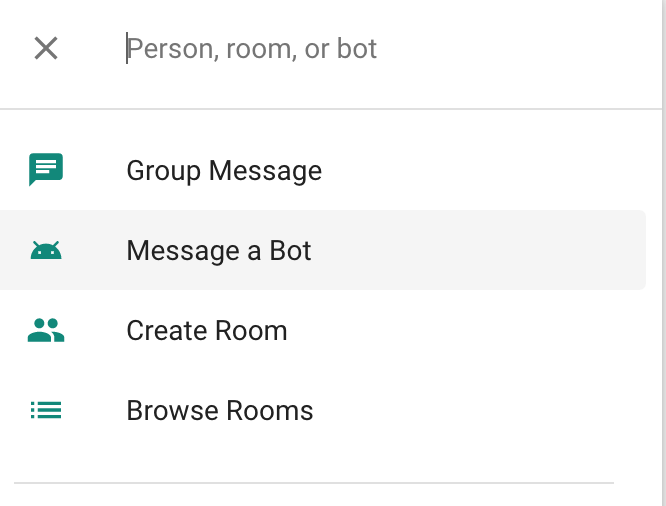
3. Click on Message a Bot as shown below:
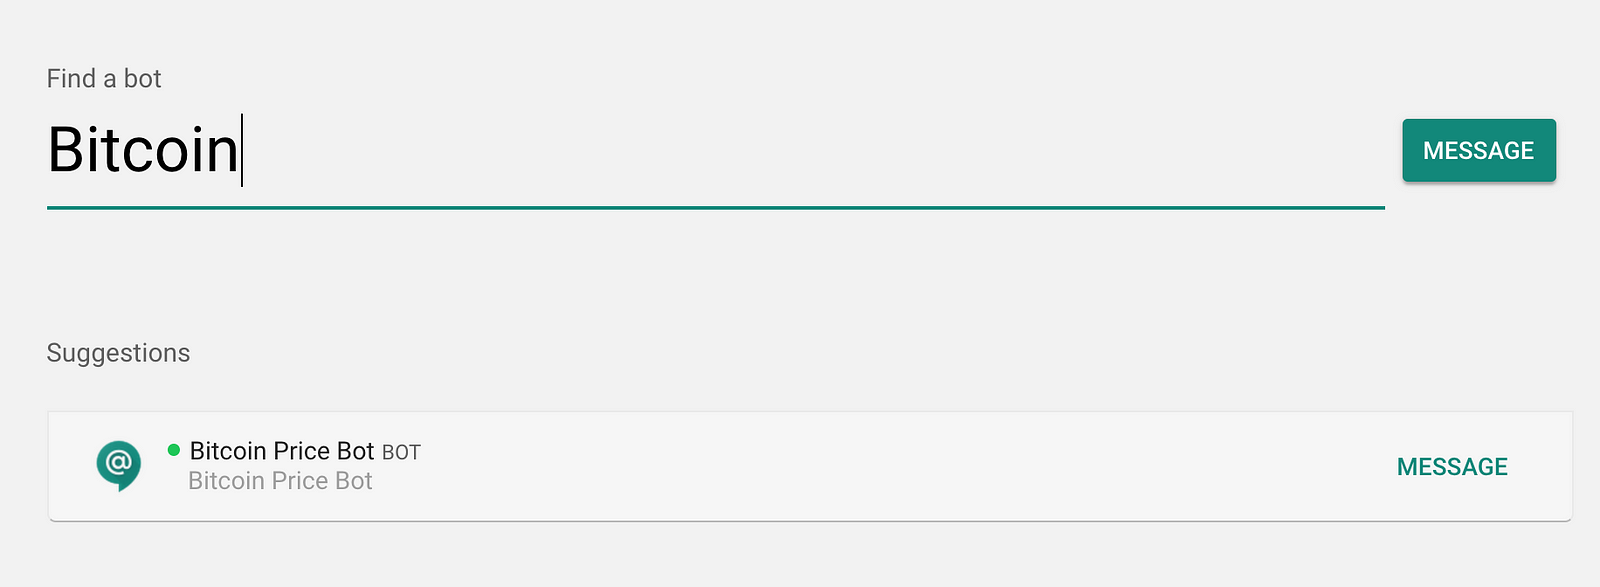
4. This will bring up a Find a Bot form, where you can enter “Bitcoin” to locate our published Bitcoin Bot as shown below:
5. That’s it. This will bring up a direct message channel with the Bot. Provide any one of the currencies (USD, EUR or GBP) and get the current price of 1 bitcoin in that currency.
留言
張貼留言