OpenCV tutorial: Computer vision with Node.js
In this openCV tutorial, I will show you how to work with computer vision in Node.js. I will explain the basic principles of working with images using the open source library called OpenCV - with real-life use cases.
Currently, I am working on my Master thesis in which I use React Native, neural networks, and the OpenCV computer vision library. Allow me to show you a few things that I have learned while working with OpenCV.
Computer vision is a field of computer science, which focuses on retrieving data from images or videos using different algorithms.
Computer vision is widely used, for example for motion tracking in security cameras, control of autonomous vehicles, identification of /searching for objects in a picture/video.
Implementing algorithms of computer vision is a nontrivial task but there is a really good open source library called OpenCV which is being developed from 1999 until now.
This library officially supports C, C ++, Python, and Java. Fortunately, JavaScript programmers led by Peter Braden started working on the interface library between the JavaScript and OpenCV called node-opencv.
With the OpenCV library, we can create Node.js applications with image analysis. This library currently hasn't implemented all of OpenCV's features - especially the features of OpenCV 3 - but it is possible to use it nowadays.
Installation
Before using the OpenCV library in Node.js, you need to install it globally. On MacOS, you can install it through Homebrew. In this article, I am using and installing OpenCV version 2.4.
If you are using another platform, here is a tutorial for Linux and Windows. After successful installation we can install node-opencv to our Node.js project.
Sometimes the installation could fail (this is open-source, and it isn't in the final phase), but you can find a solution for your problem on project’s GitHub.
OpenCV basics
Loading and saving images + Matrix
The basic OpenCV feature enables us to load and save images. You can do this by using the following methods:
cv#readImage() and Matrix#save();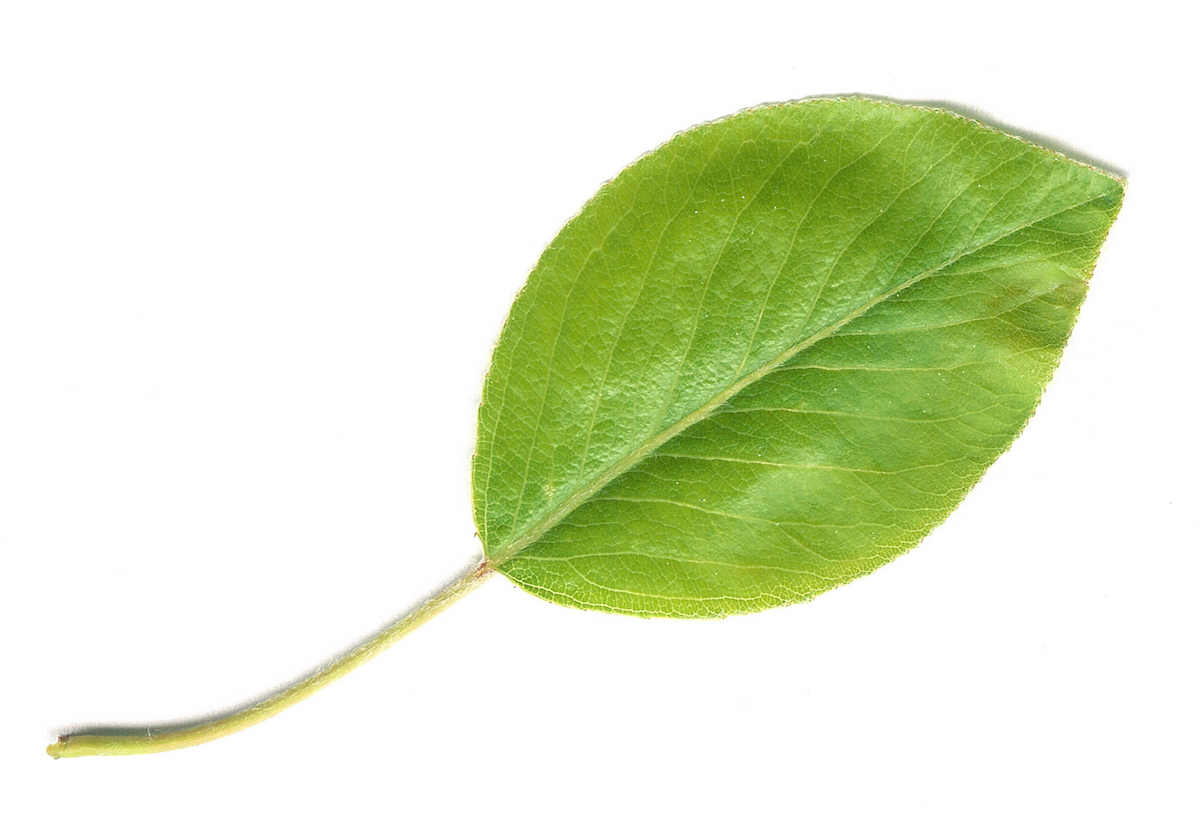
A loaded image is an Object that represents the basic data structure to work with in OpenCV - Matrix. Each loaded or created image is represented by a matrix, where one field is one pixel of the image. The size of the Matrix is defined by the size of the loaded image. You can create a new Matrix in Node.js by calling new Matrix() constructor with specified parameters.
Image modifying
One of the basic methods that we can use is converting color. For example, we can get a grayscale image by simply calling the
Matrix#convertGrayscale() method.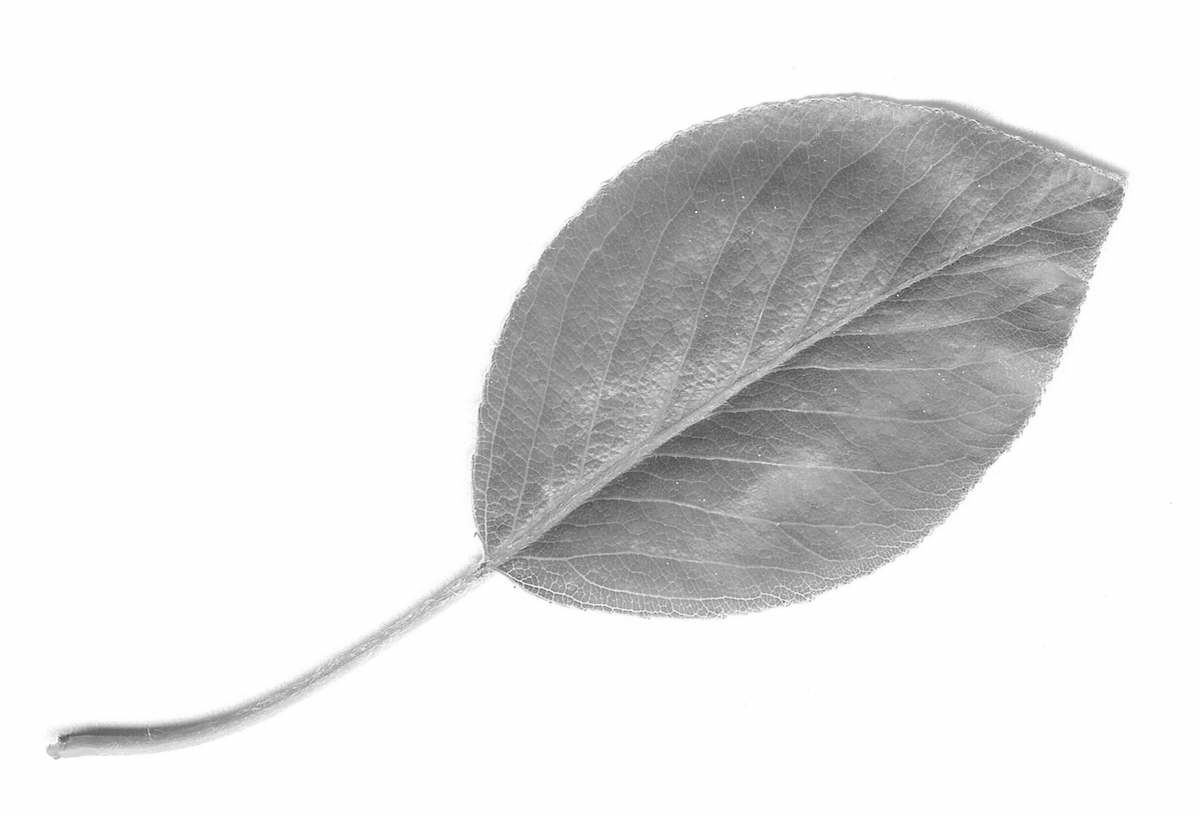
This method is often used before using an edge detector.
We can convert images to HSV cylindrical-coordinate representation just by calling
Matrix#convertHSVscale().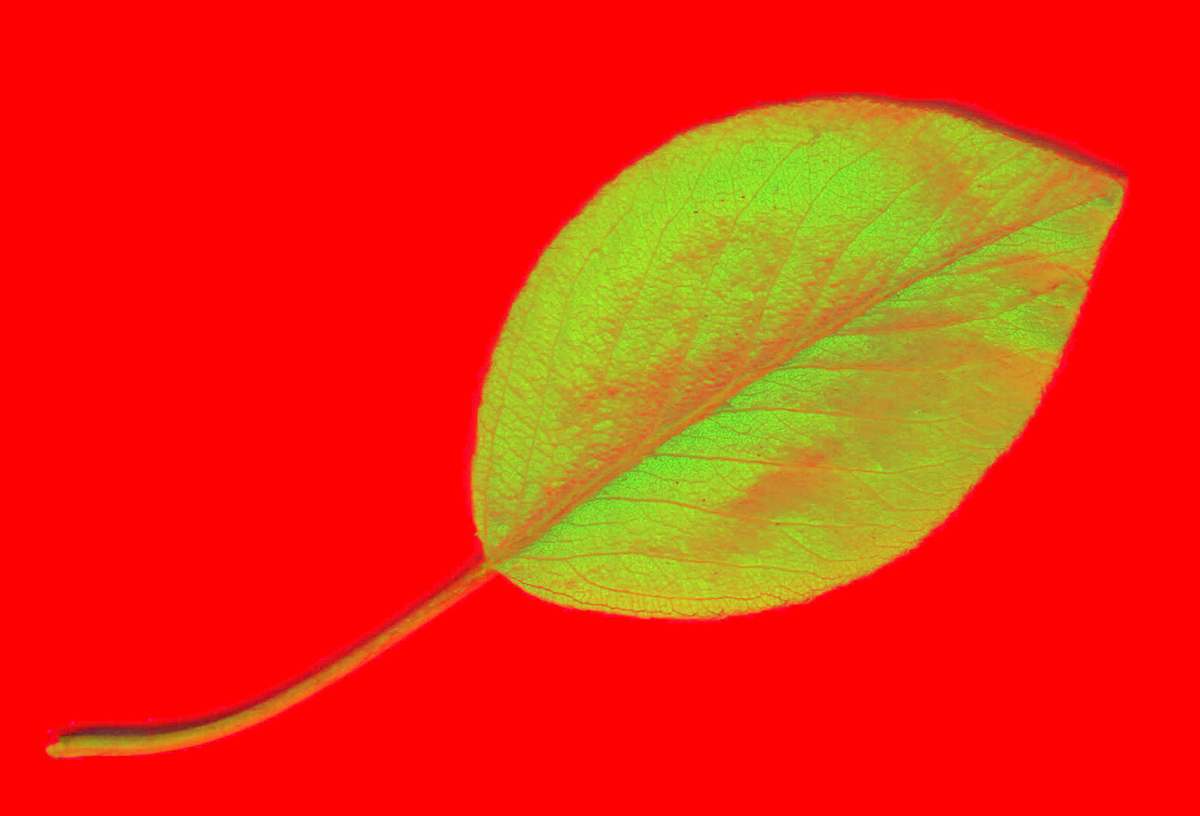
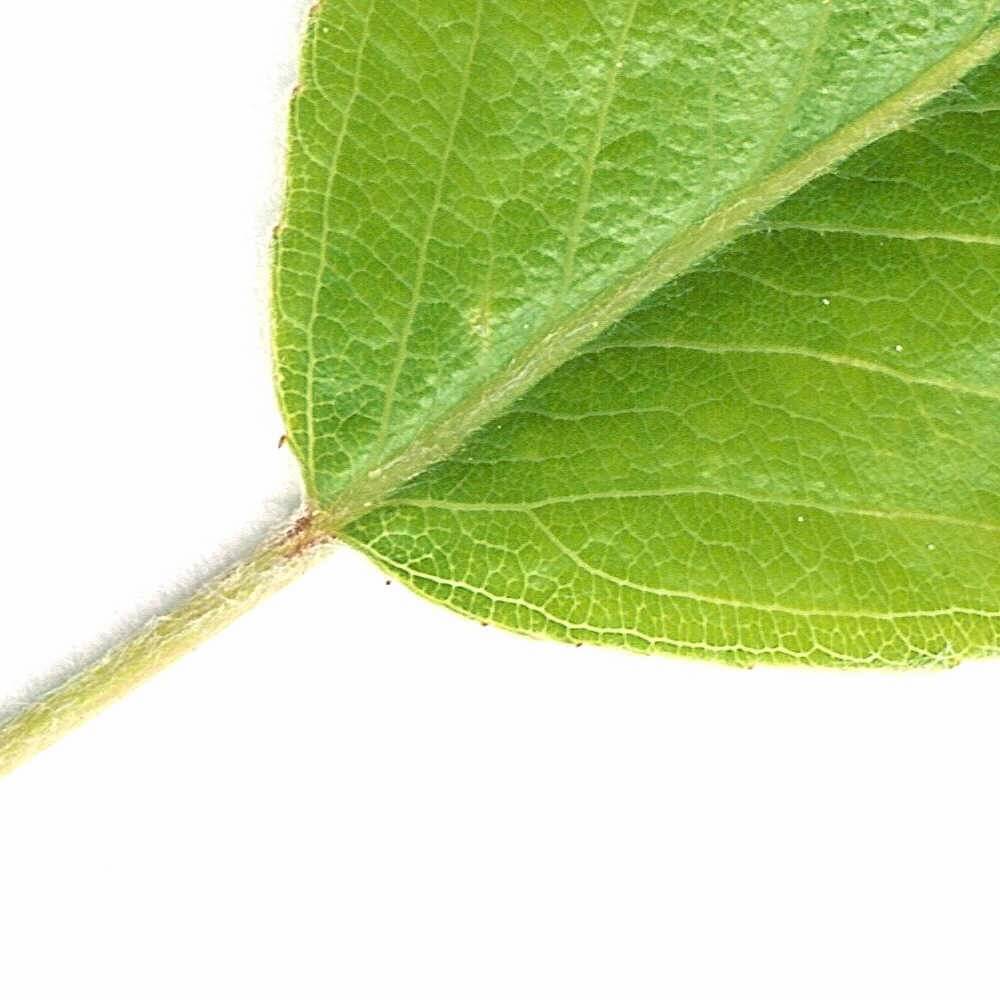
We can crop an image by calling the
This method doesn't modify our current image, it returns a new one.
Matrix#crop(x, y, width, height)method with specified arguments.This method doesn't modify our current image, it returns a new one.
If we need to copy a file from one variable to another, we can use the
Matrix#copy() method which returns a new image Object.
In this way, we can work with basic Matrix functions. We can also find various blur filter features for drawing and editing images. You can find all implemented methods on Matrix Object in the Matrix.cc file on project’s Github.
Dilation and Erosion
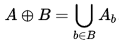
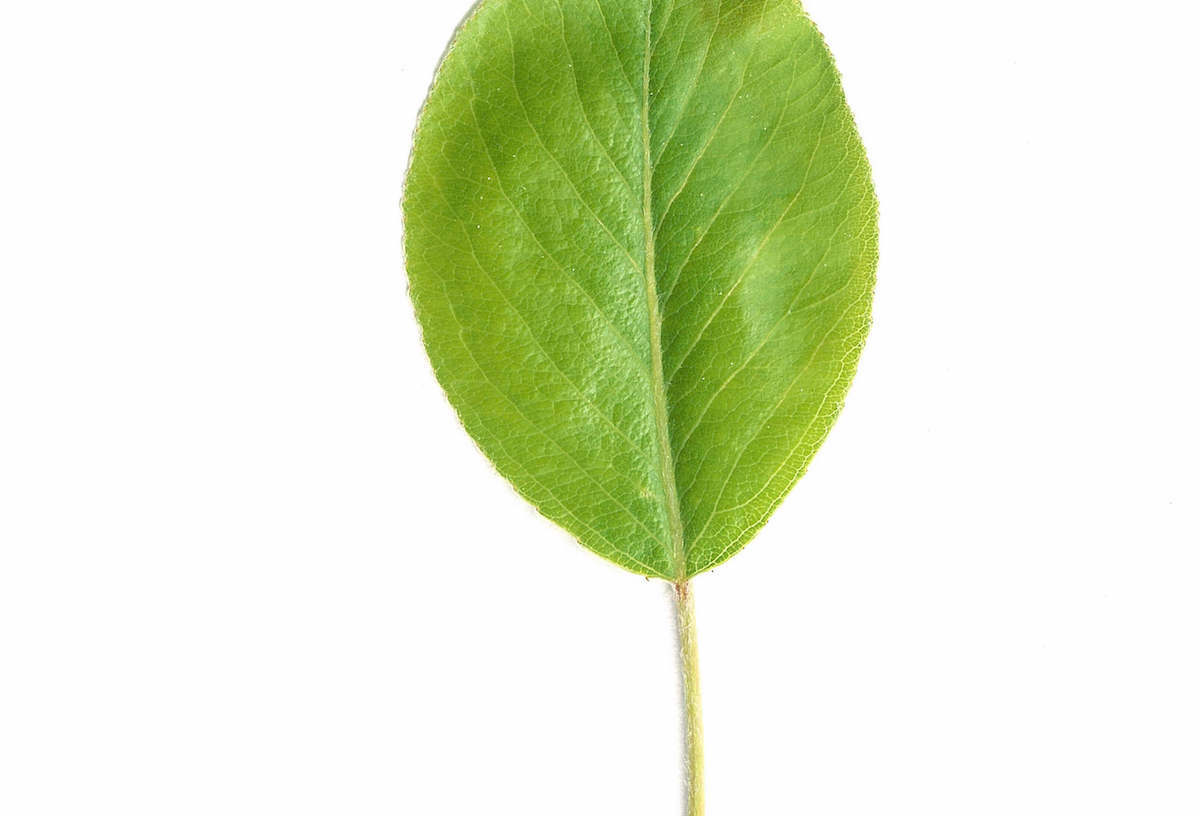
Dilation and erosion are fundamental methods of mathematical morphology. I will explain how they work using the following image modifications.
The dilation of the binary image A by the structuring element B is defined by
OpenCV has a
Matrix#dilate(iterations, structEl) method where iterations is the number of the dilation that will be performed, and structEl is the structuring element used for dilation (default is 3x3).
We can call a dilate method with this parameter.
OpenCV calls a dilate method like this.
After this call, we can get modified image like this.
The erosion of the binary image A by the structuring element B is defined by

In OpenCV, we can call a
Matrix#erode(iterations, structEl) method which is similar to the dilation method.
We can use it like this:
and we get an eroded image.
Edge detection
For edge detection, we can use the Canny Edge Detector algorithm, which was developed in 1986 and became a very popular algorithm - often being called the “optimal detector”. This algorithm meets the following three criteria, which are important in edge detection:
- Detection of edge with low error rate
- Good localization of edge - distance between edge and real edge pixels have to be minimal
- Edges in the image can only be marked once
Before using the Canny Edge Detector algorithm, we can convert the image to grayscale format, which can sometimes produce better results. Then, we can eliminate unnecessary noise from the image by using a Gaussian Blur filter which receives a parameter as a field - Gaussian kernel size. After using these two methods, we can get better and more accurate results in a Canny Edge.

The image is now ready to be detected by the Canny Edge algorithm. This algorithm receives parameters:
lowThreshold and highThreshold.
Two thresholds allow you to divide pixels into three groups.
- If the value of a gradient pixel is higher as
highThreshold, the pixels are marked as strong edge pixels. - If the value of the gradient is between the high and low threshold, the pixels are marked as weak edge pixels.
- If the value is below the low threshold level, those pixels are completely suppressed.
There isn't something like a global setting of the threshold for all images. You need to properly set up each threshold for each image separately. There are some possibilities for predicting the right thresholds, but I will not specify them in this article.
After calling the Canny Edge method, we also call a dilate method.
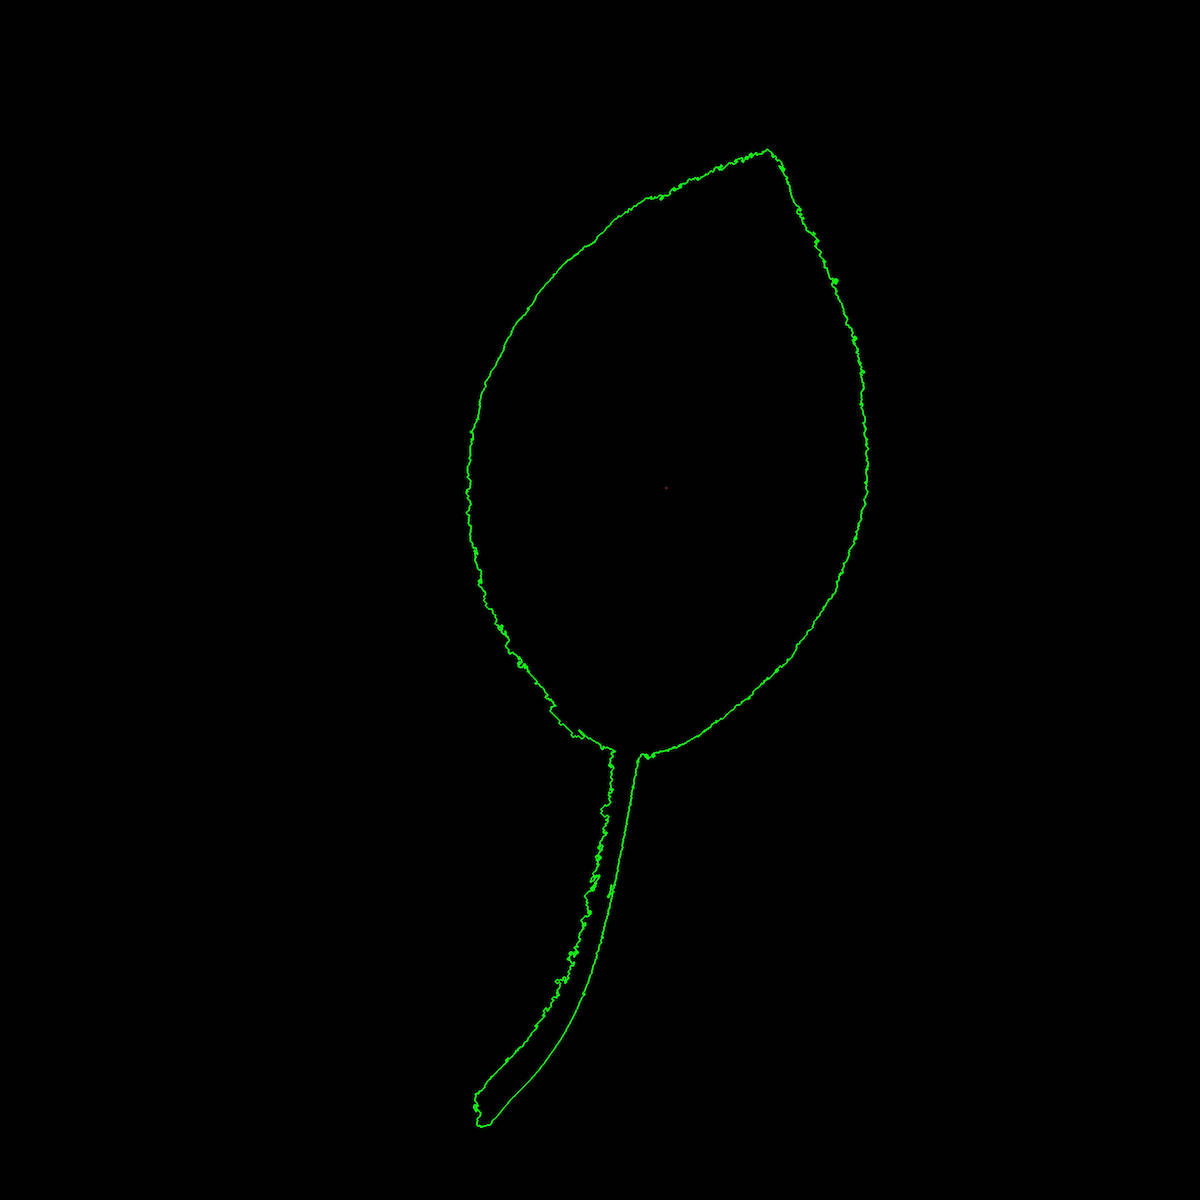
After these steps, we have an analyzed image. From this image, we can now select all the contours by calling the
Matrix#findContours() method and writing it as a new Image.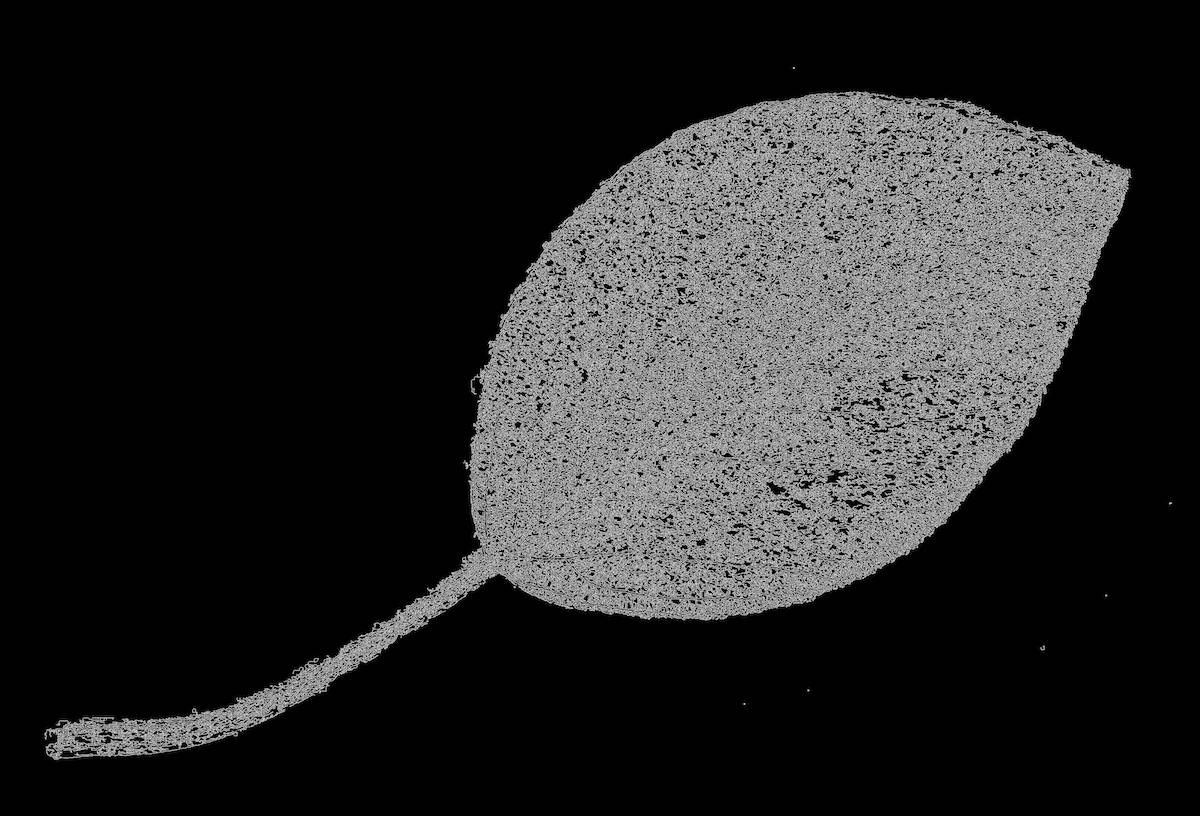
Image with dilate.
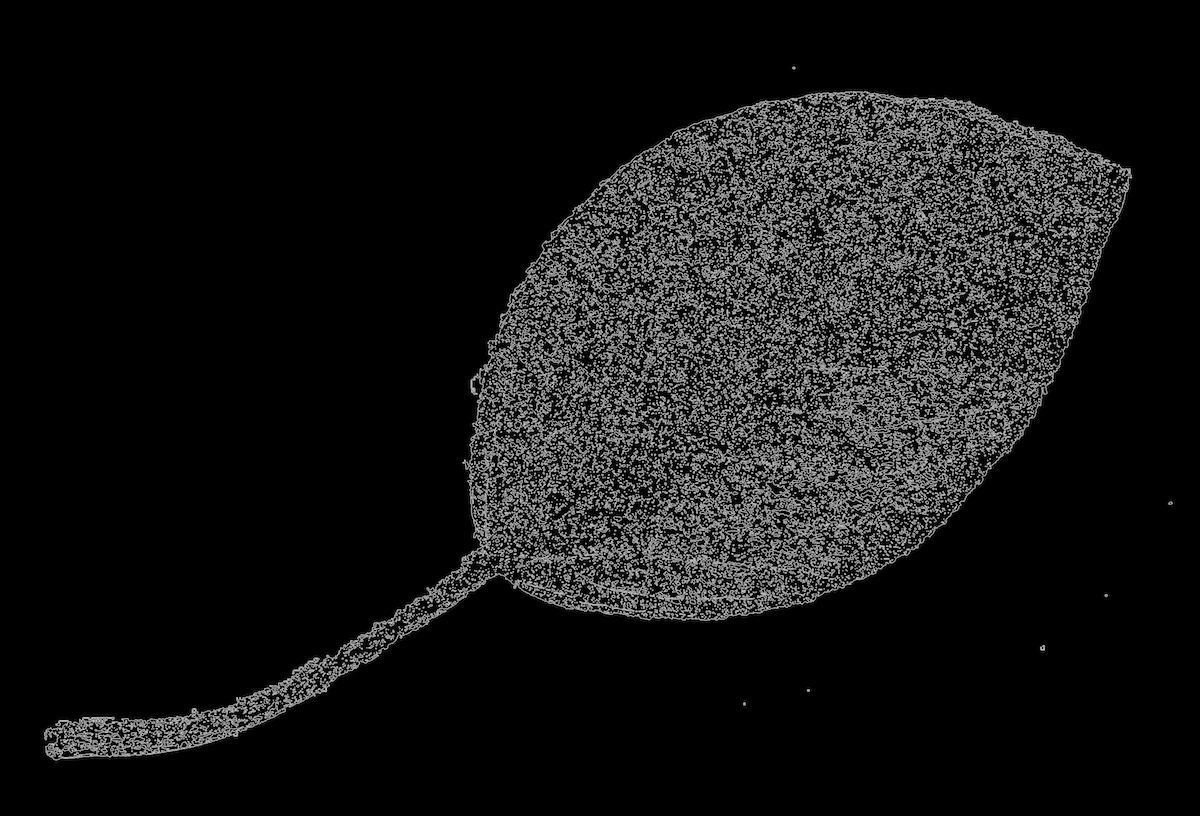
Image without dilate.
In this picture, we can see all the contours found by the Canny Edge Detector.
If we want to select only the biggest of them, we can do it by using the following code, which goes through each contour and saves the biggest one. We can draw it by the
Matrix#drawContour() method.
If we want to draw more contours, for example, all contours larger than a certain value, we only move the
Matrix#drawContour() method into a for loop and modify the if condition.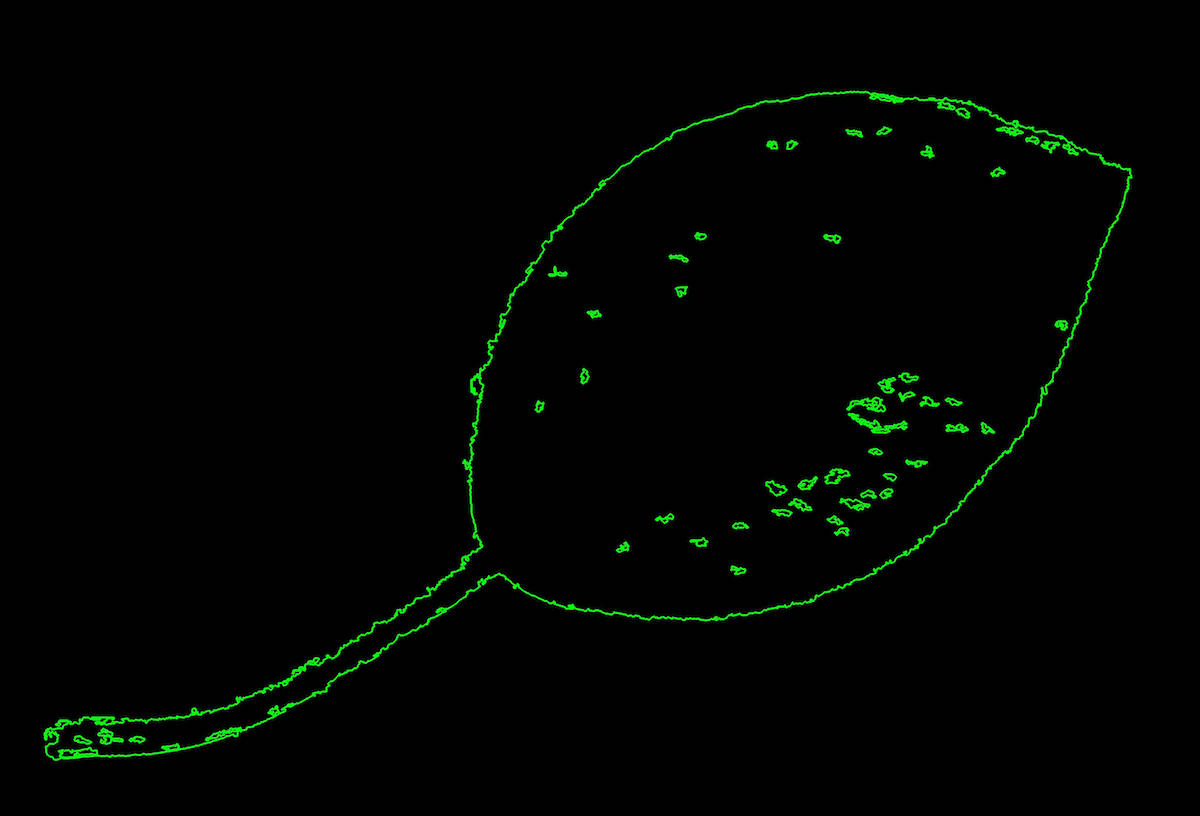
Polygon Approximations
Polygon approximation can be used for several useful things. The most trivial is an approximation by bounding a rectangle around our object using the
Contours#boundingRect(index) method. We call this method on the Contours object, which we get by calling the Matrix#findContours()method on an image after the Canny Edge Detection (which we discussed in the previous example).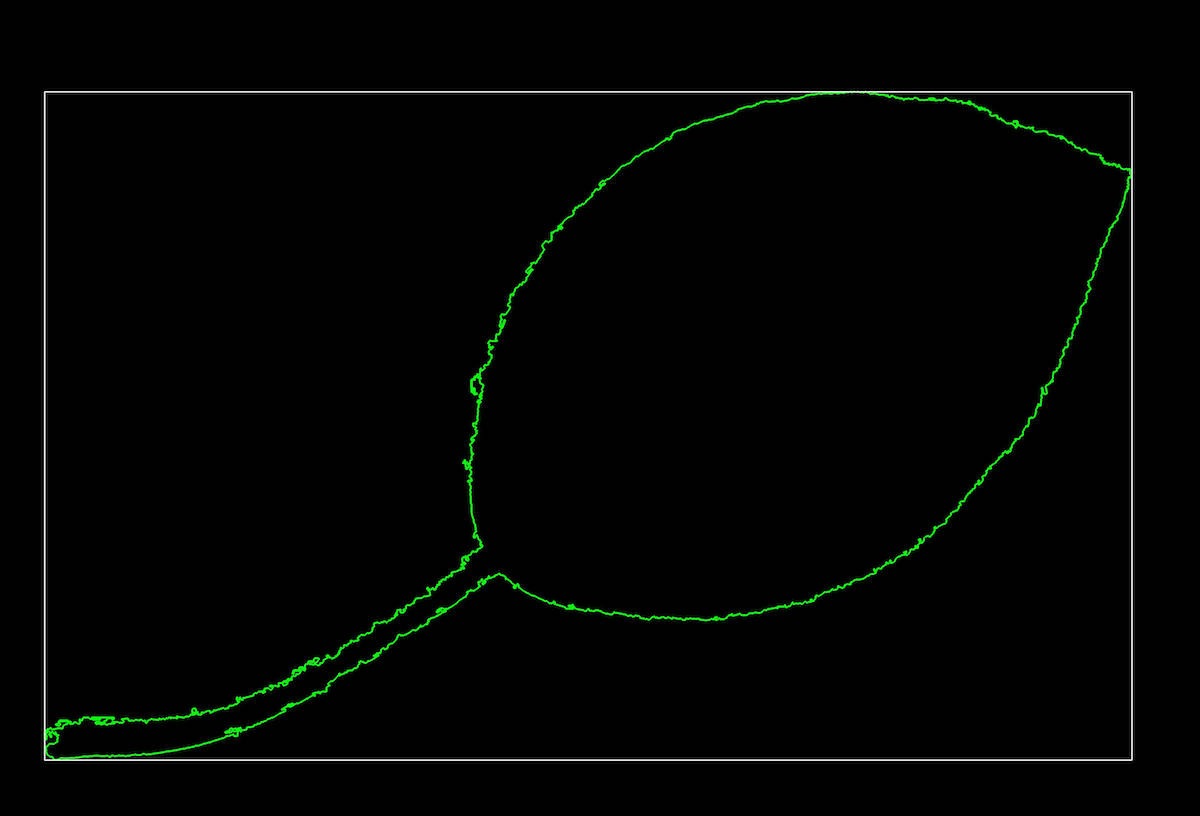
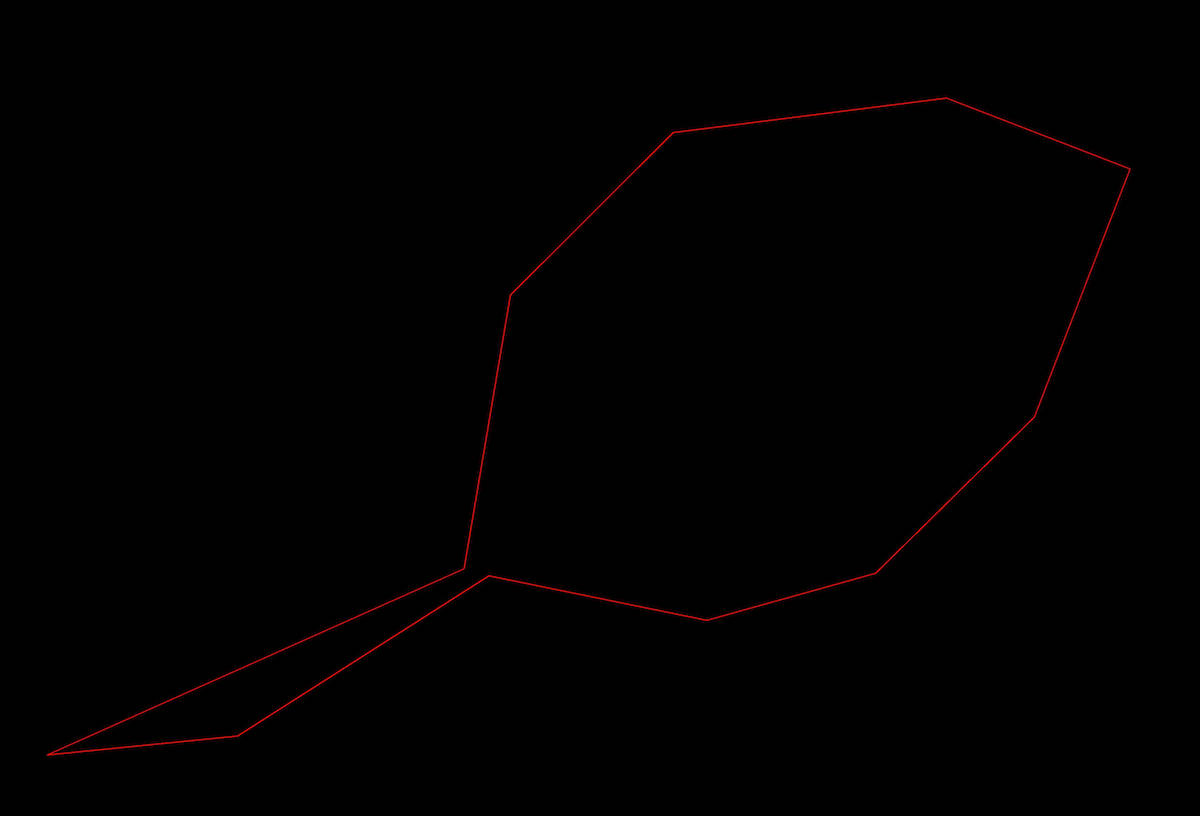
The second alternative to using approximation is the approximation of precision specified polygons by calling the
Contours#approxPolyDP()method. By using the Contours#cornerCount(index) method, you get the number of angles in our polygon. I attached two images with various levels of precision below.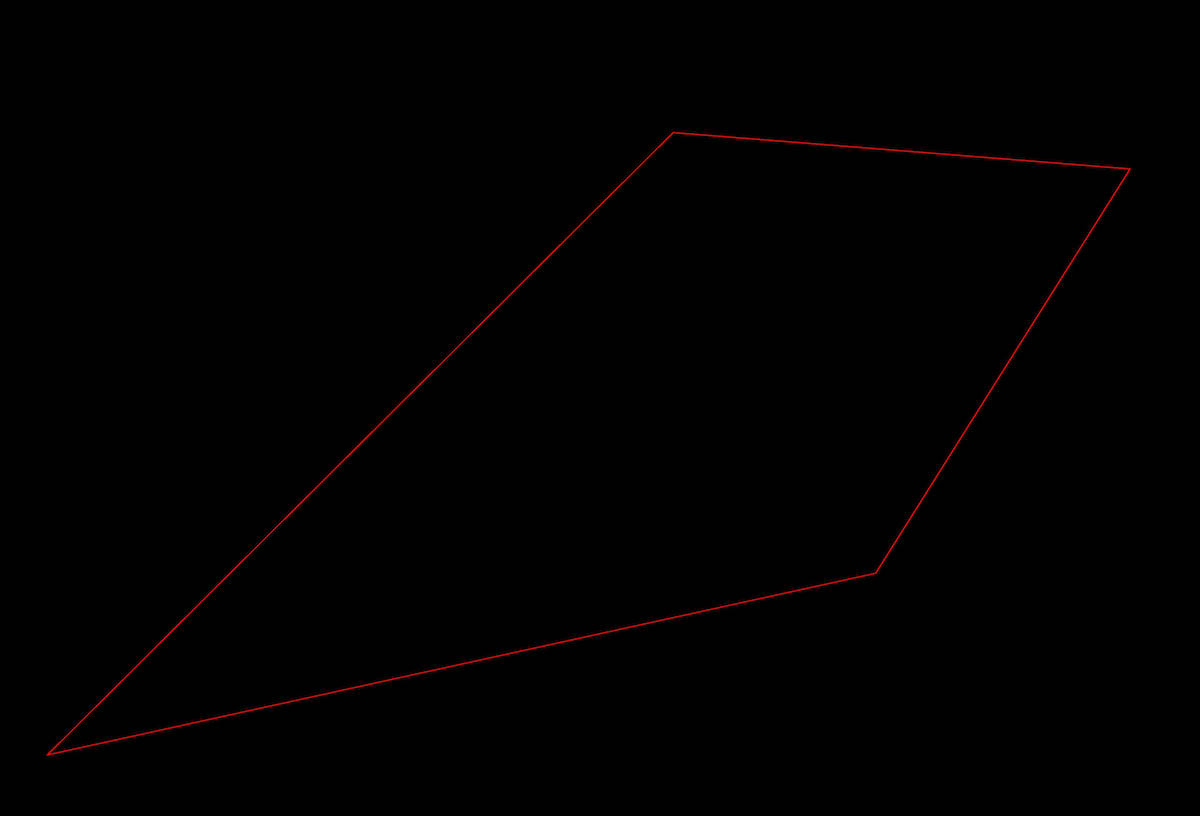
It is also interesting to use an approximation by the rotated rectangle of the minimum area, using the
Contours#minAreaRect() method.
I use this method in my project to determine the angle of a particular object which is rotated into the right position after. In the next example, we add a rotated polygon into the
largestContourImg variable and print the angle of our rotated polygon.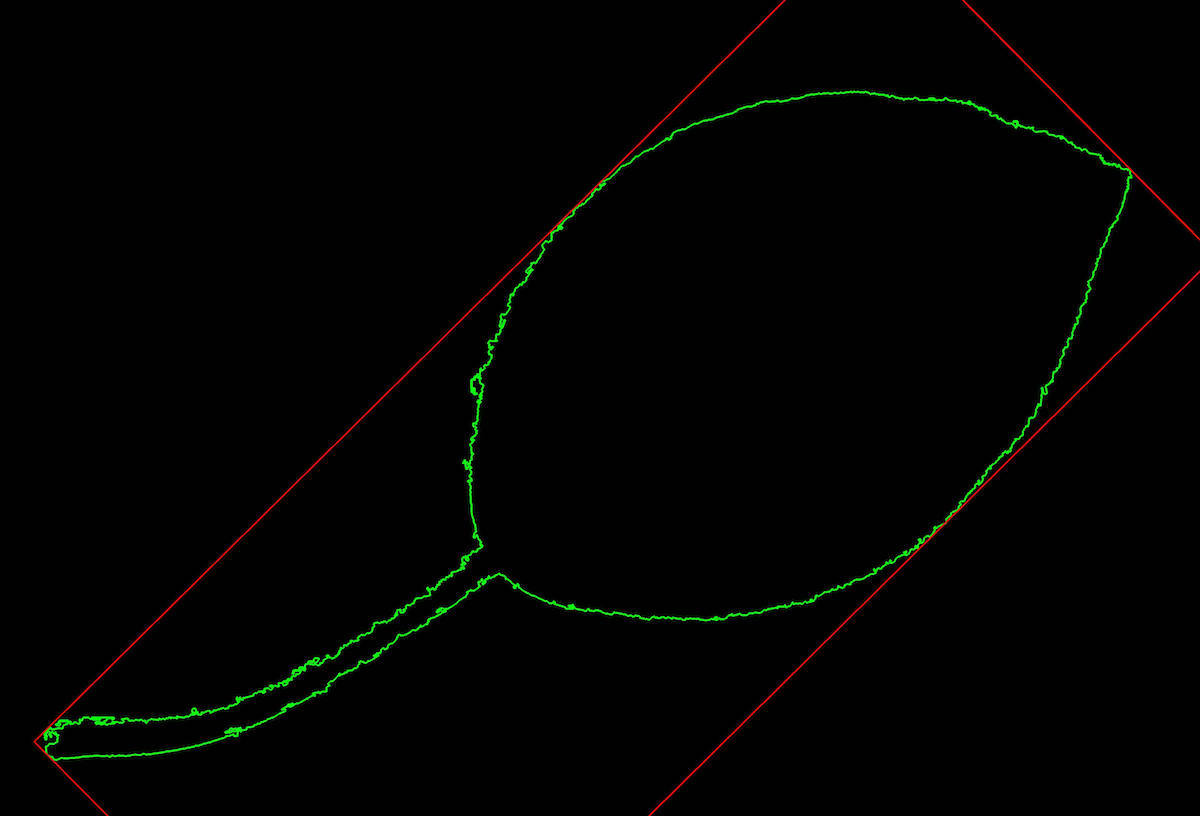
Image rotation without cropping
One of the things which I needed to solve and OpenCV have not implemented it, is image rotation without image cropping. We can easily rotate an image with the following code.
But we get something like this:
How can we rotate an image without cropping? Before the rotation, we create a new square 8-bit 3-channel Matrix called
bgImg whose size is the diagonal size of our image for rotation.
After that, we calculate the position for our image which we can put into new
bgImg Matrix. On the bgImg, we call the Matrix#rotate(angle)method with our value.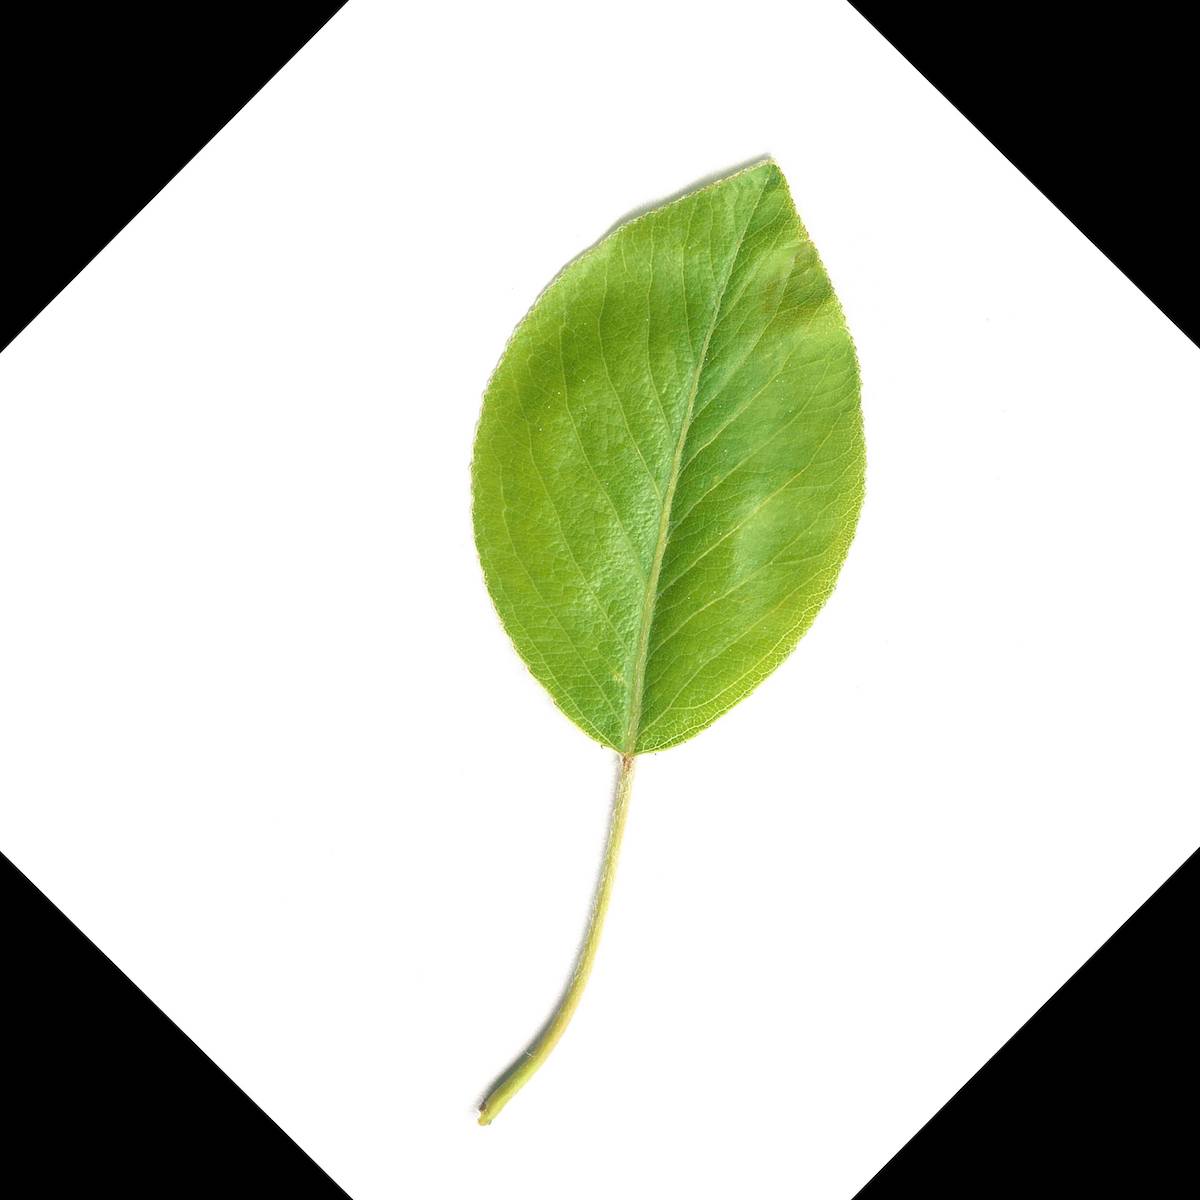
After that, we can run the Canny Edge Detector on our new rotated image.
There are so many other methods that we can use on a picture. For example, there’s background removing, which can be very useful - but they are not covered in this article.
Object detection
I work with plants and I don't use a detector for faces, cars or other objects in my application.
Even so, I decided to mention face detection in this article because it can show the strength of OpenCV technology.
We call the
Matrix#detectObject() method on our loaded image, which accepts a parameter as a path to cascade classifier, which we want to use. OpenCV comes with some pre-trained classifiers which can find figures, faces, eyes, ears, cars and some other object in pictures.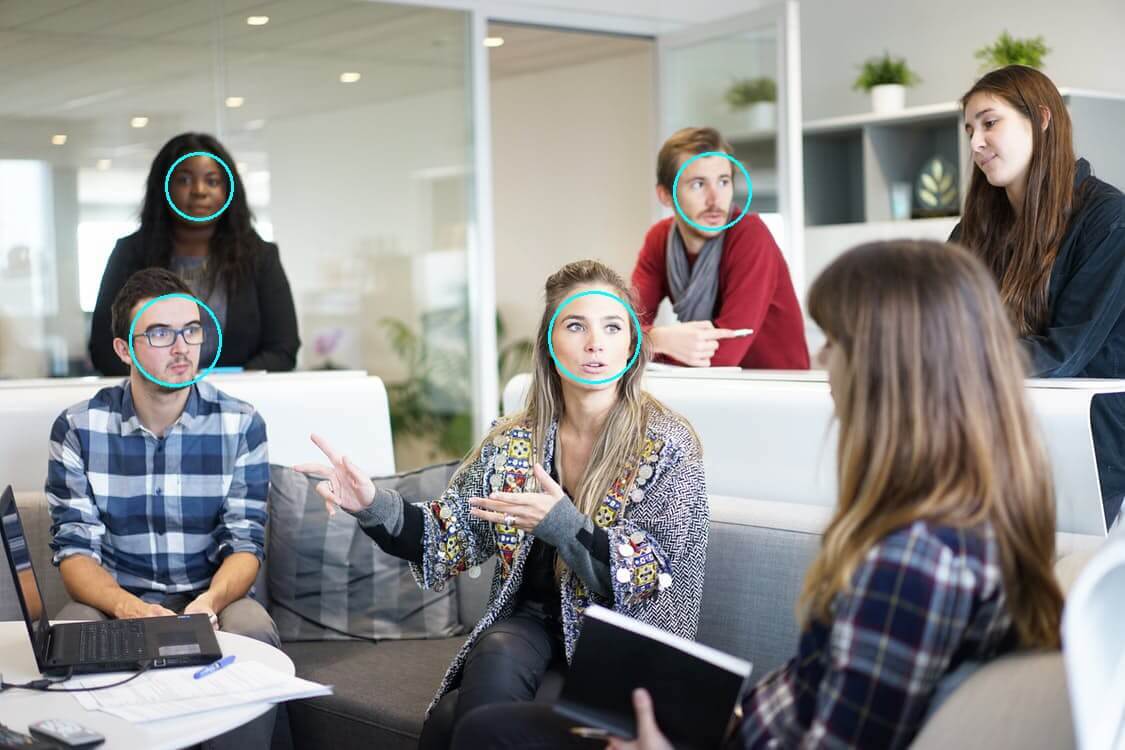
OpenCV tutorial: Computer vision with Node.js
In this article, I talked about some interesting features of the popular OpenCV library used in Node.js. It is a real shame that there is no official interface for Node.js, although there is a library node-opencv, with less implemented features and an inconsistent API.
If you want to work with this library, you need to study the .cc files in the node-opencv repository, because there is no complete documentation of this library, at least yet.
Reading the code is absolutely OK, I love doing it, but I'm not happy with some inconsistencies and differences in return values compared with official OpenCV. I hope this library will soon develop, and I will try to contribute to it with a few lines of my own code.
留言
張貼留言